Editing images
In today's digital age, photo editing is an essential skill for any photographer. The process is where artistic vision comes to life, whether it's fine-tuning colour or simply adjusting highlights and shadows. By applying creative tools effectively, the final image will stand out from the changes made - which could enhance the mood, draw focus on the subject matter or bring out intricate details...
Software recommendations
Adobe Lightroom: Suitable for editing RAW (raw image format) files, managing large photo libraries with a range of advanced tools available.
Nikon NX Studio: Specifically for Nikon camera users editing NEF (Nikon's RAW format) files. Covers essential tools such as exposure, contrast and cropping.
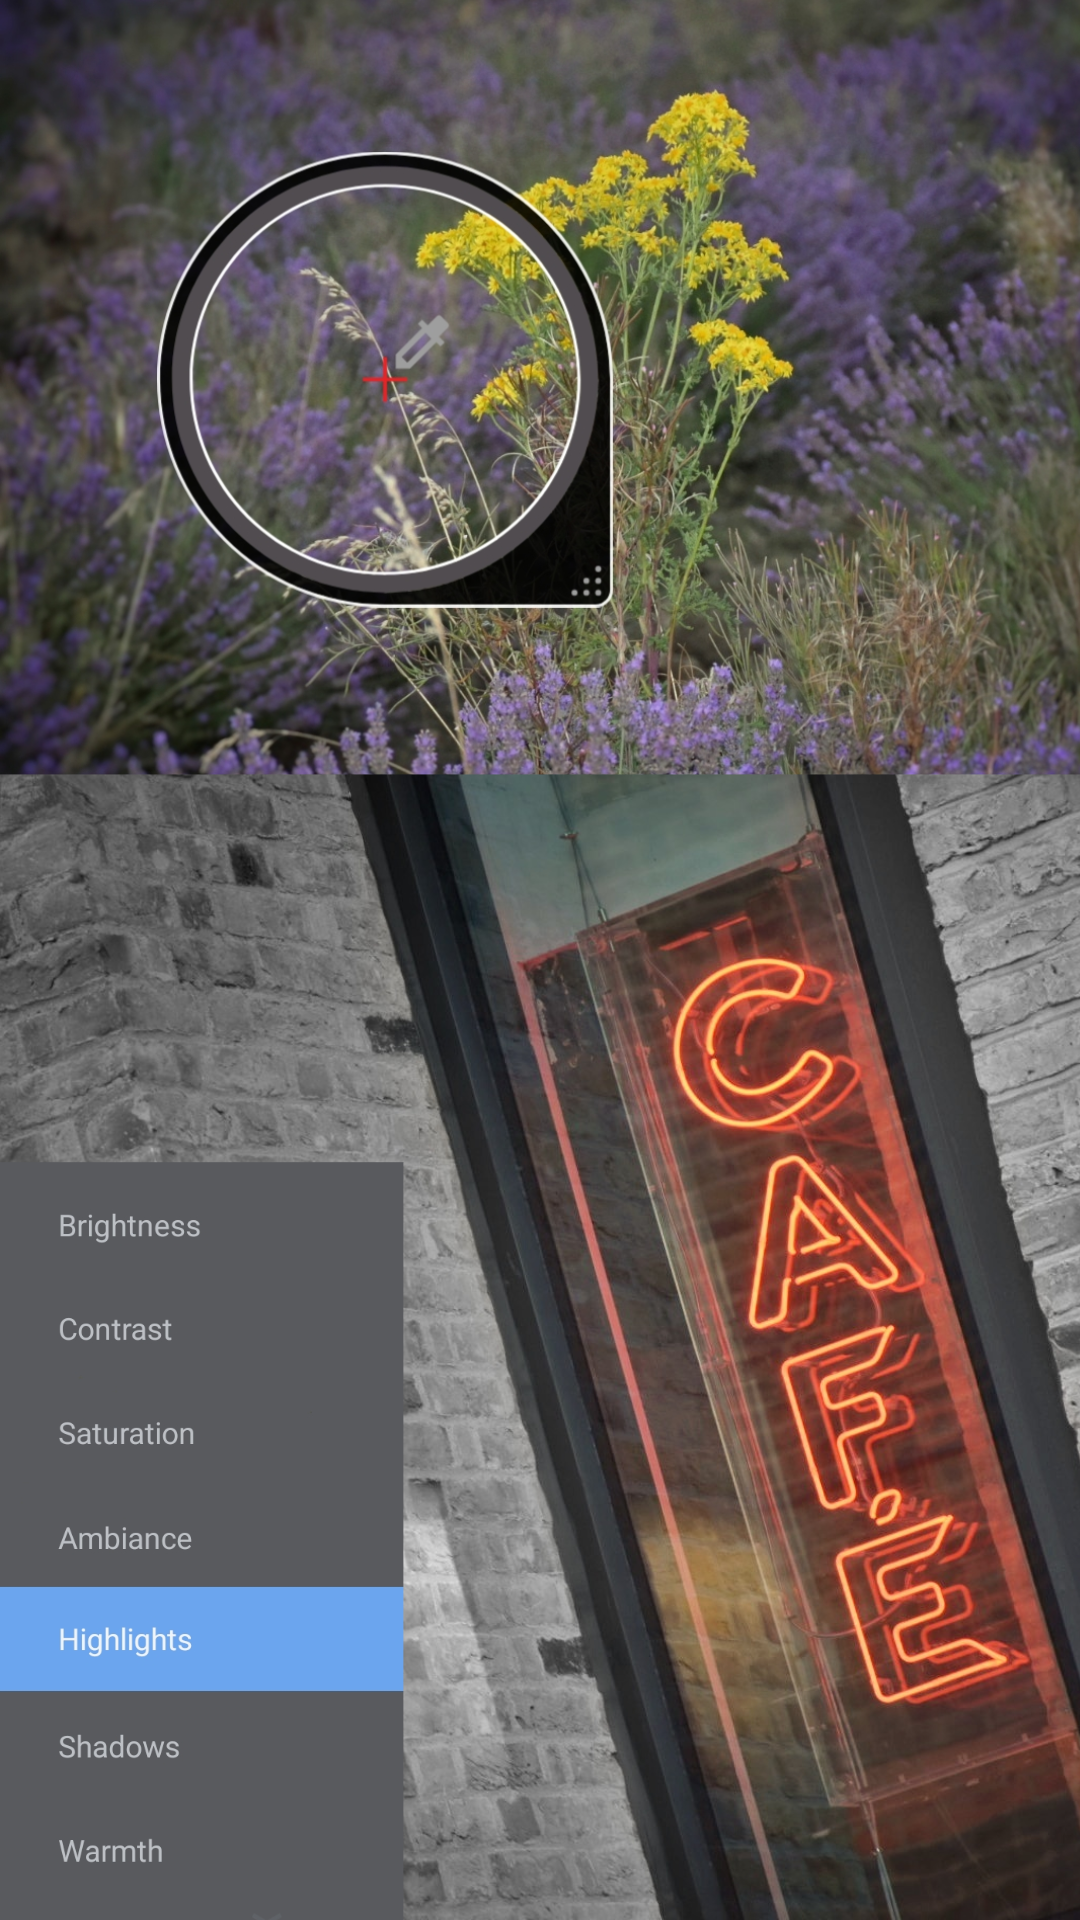
Snapseed: User-friendly interface, appropriate for beginners - providing filters, presets and basic selective adjustments.
It’s important to avoid over-editing, keep your adjustments subtle and true to the original context. Simple edits allow your images to convey a story more naturally with authenticity - strengthening the moment captured, and not to be overshadowed by the obvious changes made. The key is to edit with intention, keeping adjustments purposeful. Editing isn't just about fixing flaws; it's about bringing out the best potential from the image data. Knowing when to stop is vital - aim for enhancement, not alteration!
Basic adjustments
Brightness: Aim for natural light, get the best overall exposure by setting the mood with subtle changes.
Contrast: Add depth by accentuating textures, make the scene more dynamic and engaging.
Highlights/Shadows: A fine balance will bring out details, from added depth to revealed realism.
Colour and tonal changes
White balance: Ensure that the colour looks genuine by compensating for different light sources.
Vibrance/Saturation: Boost muted tones without dramatic impact, be careful not to exaggerate the scene.
RGB (red, green and blue) curves: Target specific colour channels for correct, accurate grading.
Final touches
Sharpen: Enhance edge definition, make areas more crisp. Be selective when applying detail.
Noise reduction: Smooth out unwanted grain or digital noise. Zoom in and check shadowed areas.
Crop and straighten: Remove unwanted borders. Straighten horizons or align key elements.